So, you’ve just had a new well drilled. That’s exciting! But before you start enjoying that fresh water, there’s a really important step that often gets overlooked or maybe just not talked about enough: well sealing. Think of it like putting a cap on a bottle. It might seem simple, but it’s absolutely vital for keeping your water clean and safe. This process, why it matters so much, and what makes a good seal are what we’re going to talk about. Because, honestly, Why Well Seals Are a Must for Newly Drilled Wells is a question worth asking.
Key Takeaways
- Well seals act as a barrier, stopping stuff from the surface, like dirt and chemicals, from getting into your groundwater supply.
- A good seal helps keep the well’s casing sturdy and in place, which is important for the whole structure.
- Sealing prevents water from different underground layers from mixing, which could cause problems.
- Using the right materials and putting the seal in the correct spot are key parts of making a seal work well.
- Not sealing properly can lead to dirty water, environmental issues, and even fines from regulators.
Understanding The Critical Role Of Well Seals
Preventing Surface Contamination From Reaching Groundwater
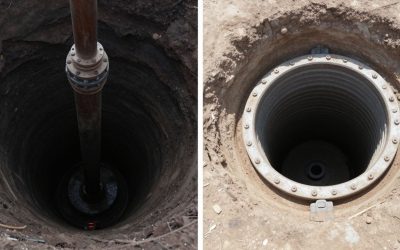
Think about it: your well is basically a direct line to the water underground that you might be drinking. If that connection isn’t sealed up tight, anything on the surface – think animal waste, spilled chemicals, or even just runoff from your yard – can find its way down. That’s where a well seal comes in. It’s like the gatekeeper, stopping unwanted stuff from getting into your water supply. This seal creates a barrier, preventing surface contaminants from migrating down the annular space (that’s the gap between the borehole and the casing) and mixing with your groundwater. It’s a pretty simple concept, but incredibly important for keeping your water safe to drink.
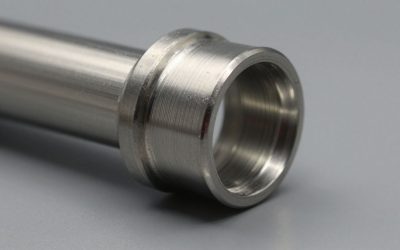
Ensuring Casing Stability And Structural Integrity
Beyond just keeping gunk out, the seal also plays a big part in keeping the well itself in good shape. The casing is the pipe that runs down into the ground, and it needs to stay put. The sealing material, often bentonite or cement grout, fills the space around the casing. This helps to hold the casing steady, especially in softer ground. It also stops the upper layers of soil from collapsing into the borehole. Without a good seal, the casing could shift or become damaged over time, which is a whole other set of problems.
Preventing Inter-Aquifer Contamination
Sometimes, there’s more than one layer of groundwater, called aquifers, that a well might pass through. These different layers can have different water qualities. A proper well seal is designed to stop water from one aquifer from flowing into another through that annular space. This is super important if one aquifer is cleaner than another, or if you’re trying to protect a specific, high-quality water source. It keeps the different water layers separate, just like they were naturally, and stops potential pollution from spreading between them.
Essential Components Of A Robust Well Seal
So, you’ve got a new well drilled, which is great! But just having the hole and the pipe in place isn’t the end of the story. To make sure that well stays safe and sound for years to come, you absolutely need a solid seal. Think of it like the foundation of a house – you can’t just skip it. A good seal does a few really important jobs, and getting it right means paying attention to the details.
Proper Annular Space Dimensions
The "annular space" is just the gap between your well’s casing (that’s the pipe lining the hole) and the actual borehole wall. This space is where your sealing material goes. It’s not just about filling it up; it’s about having the right amount of space. Generally, this gap needs to be at least a few inches wider than the casing itself. This extra room is super important because it gives the sealing material enough volume to create a continuous barrier without being too thin or too thick.
| Casing Diameter (nominal) | Minimum Annular Space Diameter | Minimum Annular Space Width |
|---|---|---|
| 4 inches | 8 inches | 2 inches |
| 6 inches | 10 inches | 2 inches |
| 8 inches | 12 inches | 2 inches |
This table gives you a general idea, but always check local regulations because they can vary. Too small a space and you might not get a good seal; too big and you’re wasting material and potentially making it harder to place the seal correctly.
Appropriate Sealing Materials
What you fill that annular space with matters a lot. You can’t just use any old dirt! The most common materials are bentonite (either as pellets or a slurry) and cement grout. Bentonite is great because it swells when it gets wet, creating a really tight barrier that stops water from moving. Cement grout, on the other hand, hardens into a solid, durable seal. Sometimes, a combination is used, with bentonite placed above the aquifer and cement used deeper down.
- Bentonite: Swells to form a low-permeability barrier. Good for stopping surface water intrusion.
- Cement Grout: Hardens to provide structural support and a strong seal. Often used when higher pressures or more durability are needed.
- Combinations: Using both materials can offer the benefits of each in different zones of the well.
It’s really important that whatever material you choose is clean and mixed with potable (drinkable) water if it’s a cement-based product. No one wants contaminated sealing materials ending up in their water source!
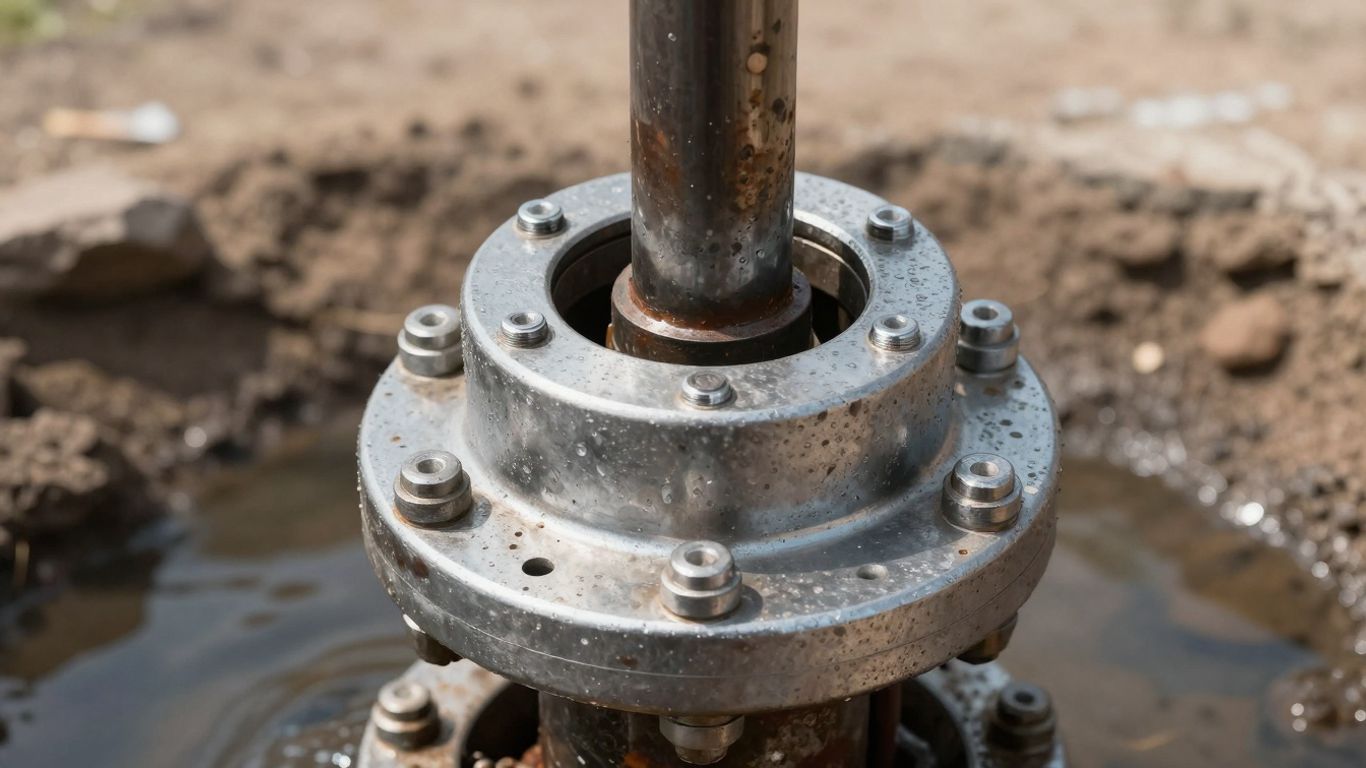
Correct Placement Techniques
Even with the right space and the right materials, if you don’t put the seal in properly, it’s useless. The goal is a continuous, void-free seal from the bottom of the seal zone all the way up to the surface. This usually means using a "tremie pipe" – a long, flexible pipe that lets you pump the sealing material down into the annular space from the bottom up. This method helps avoid trapping air or creating gaps, which could let contaminants sneak in.
Pumping the seal material from the bottom up, ensuring the tremie pipe stays submerged in the material as it rises, is key to preventing voids and creating a truly effective barrier. This methodical approach guarantees the entire annular space is filled without interruption.
For some shallower wells or specific situations, other methods might be allowed, but the principle is always the same: fill that gap completely and without any breaks. Getting this part wrong is a common mistake, and it can lead to big problems down the road.
Specific Sealing Standards For Different Well Types
Okay, so not all wells are built the same, and that means the way we seal them up needs to be a bit different too. It’s not a one-size-fits-all deal, and getting it wrong can cause all sorts of headaches down the line. Let’s break down some of the common types and what the rules are for keeping them sealed up tight.
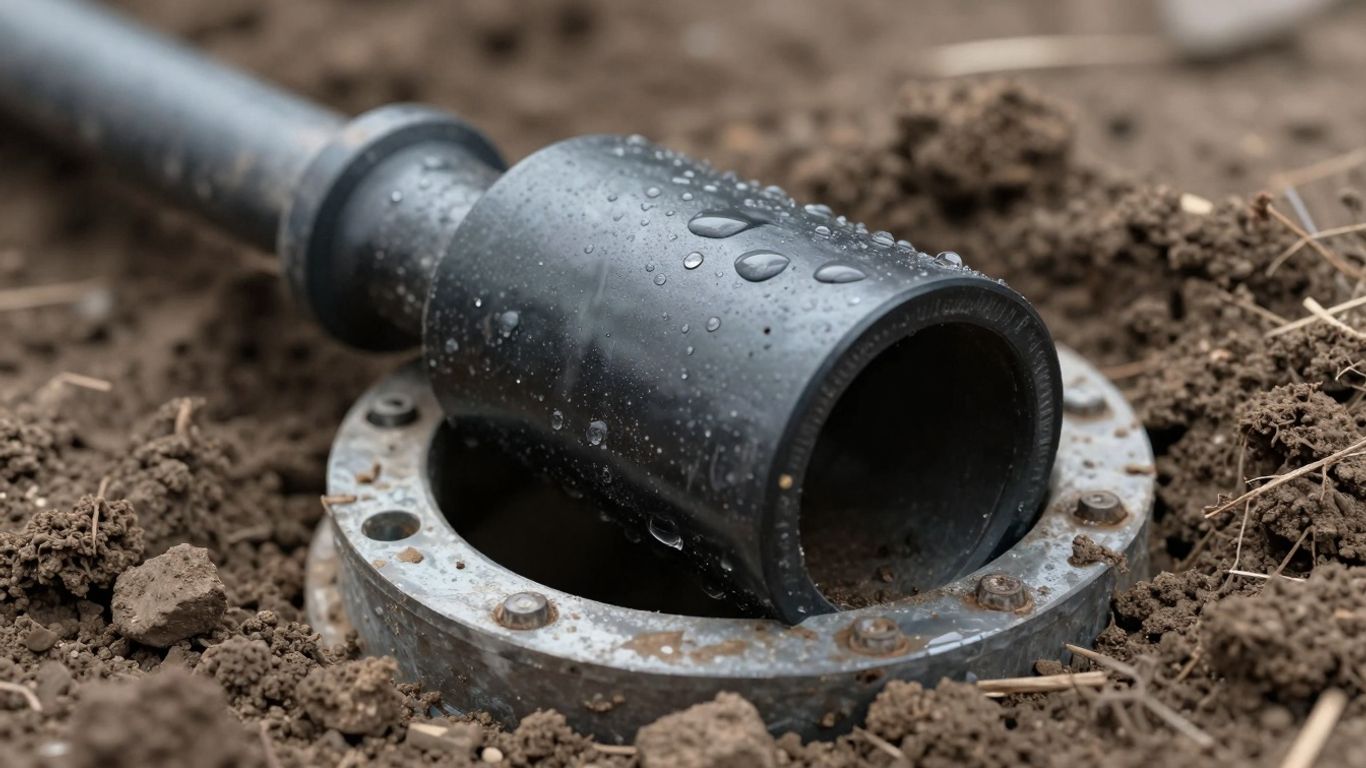
Driven, Jetted, And Dewatering Wells
For wells that are driven or jetted into the ground, the main idea is to create a good seal around the casing where it meets the surface. For driven wells, you’ll typically see an oversized hole drilled first, at least six feet deep, and then the casing is driven down. During this process, the space between the hole and the casing needs to be kept at least half-full with bentonite or a bentonite slurry. Once that’s done, the rest of the space up to the surface is filled with cement grout or more bentonite.
Jetted wells follow a similar principle, needing that oversized hole and a seal that connects the casing to the undisturbed soil below. Dewatering wells have their own set of rules, especially permanent ones. If the screen is deep, the seal needs to go down at least 18 feet. If the screen is closer to the surface, the seal needs to be within three feet of the top of the screen, but never less than 10 feet deep. Temporary dewatering wells, those in place for less than a year, just need a basic three-foot seal, but if they connect different water layers, a plan is needed to stop contamination. And remember, temporary wells have to be upgraded or removed within a year.
Dug Wells And Artesian Wells
Dug wells, the older, wider kind, often have different sealing requirements because they’re usually finished in shallower aquifers. The seal needs to prevent surface stuff from getting in, and it typically extends from the surface down to a certain depth, often to undisturbed soil. The exact depth can vary, but the goal is always the same: keep contaminants out.
Artesian wells are a whole different ballgame. If you suspect artesian conditions – that’s water under pressure – you need a written plan before you even start drilling. This plan has to cover the sealing materials, how you’ll do it, and what you’ll do if the water flow gets out of control. When you hit that pressurized water, the casing needs to go into the layer of rock or clay that’s holding it back, and you seal it there to stop leaks. If the well actually flows out at the surface, a valve is a must to shut it off. The whole point is to stop any leakage around the casing, and you can’t pack up and leave until that flow is completely stopped, unless you get special permission or there’s a real emergency.
Resource Protection Wells
Resource protection wells, like those used for environmental monitoring, have some of the strictest sealing requirements. These wells are designed to gather accurate information about groundwater, so preventing any contamination or mixing of water from different layers is super important. The seal needs to be continuous, filling the space between the borehole and the casing. It generally runs from the surface all the way down to the top of the filter pack, which sits just above the well screen. The diameter of this seal is usually larger than the casing, typically by at least four inches, to make sure it completely surrounds the casing and connects to the surrounding soil. Materials like bentonite or cement grout are commonly used, and they’re often installed using a tremie pipe to make sure there are no gaps or voids. The integrity of this seal is paramount for reliable data and protecting groundwater resources.
Consequences Of Inadequate Well Sealing
Skipping out on proper well sealing isn’t just a minor oversight; it can lead to some pretty serious problems down the road. Think of it like building a house without sealing the foundation – eventually, water’s going to find its way in, and that’s rarely a good thing.
Compromised Water Quality
This is probably the most immediate and concerning outcome. When a well isn’t sealed right, there’s nothing stopping surface gunk – think animal waste, pesticides from fields, or even oil spills – from seeping directly into your water supply. It doesn’t take much for contaminants to travel down the annular space or through cracks. Suddenly, that clean water you expected is carrying all sorts of unwanted guests. This can make the water unsafe to drink, leading to health issues for anyone using it. Even if it doesn’t make you sick right away, the taste and smell can become unpleasant, making the water unusable for cooking or even bathing.
Environmental Risks And Remediation Costs
Beyond just your own water, a poorly sealed well can become a pathway for pollution to spread. If you have different underground water layers, or aquifers, a bad seal can let contaminated water from one layer mix with cleaner water in another. This is called inter-aquifer contamination, and it’s a real headache to fix. Once an aquifer is contaminated, cleaning it up is incredibly difficult and expensive, sometimes even impossible. You might end up with a situation where you need to drill a new well, or worse, face massive costs trying to remediate the groundwater itself. It’s a mess that can affect not just your property but potentially your neighbors’ water sources too.
Regulatory Non-Compliance And Potential Fines
Most places have rules about how wells should be built and maintained, and for good reason. These regulations are designed to protect public health and the environment. If your well doesn’t meet the required sealing standards, you could be looking at trouble with local or state authorities. This might mean being ordered to fix the well, which can be costly, or even facing fines for non-compliance. It’s always better to get it right the first time than to deal with the penalties later.
The integrity of a well seal is directly tied to the long-term safety and usability of the water source. A small saving made by cutting corners on sealing materials or installation can result in exponentially larger expenses and risks in the future. It’s an investment in reliability and safety that shouldn’t be overlooked.
Best Practices For Well Seal Installation
Putting in a well seal isn’t just about filling a gap; it’s a careful process that needs attention to detail. Getting it right from the start means your well will be protected for years to come. Messing this up can lead to all sorts of problems down the road, from water quality issues to costly repairs.
Maintaining Seal Integrity During Construction
During the drilling and casing process, keeping the annular space clean and ready for the seal is super important. You don’t want loose dirt, rock chips, or drilling mud left behind, because these can create pathways for contaminants or prevent the seal from setting properly. Think of it like trying to glue two pieces of wood together when there’s sawdust in between – it just won’t hold.
- Always remove all loose debris from the annular space before placing any sealing material. This might involve circulating water or a drilling mud slurry to flush everything out.
- Keep the annular space at least half full of sealing material, like bentonite slurry, as you advance the casing. This helps prevent cave-ins and keeps contaminants out.
- If you’re using cement grout, make sure it’s mixed with potable water. No shortcuts here!
Ensuring Continuous Sealing Operations
Once you start placing the sealing material, it needs to be a continuous operation. This means filling the entire annular space from the bottom up without stopping for long periods. Pauses can lead to uneven setting, voids, or segregation of the sealing material, especially if you’re using cement or grout. For deeper wells, using a tremie pipe is often the best way to get the material exactly where it needs to go, from the bottom up, without interruption.
The goal is a solid, unbroken column of sealing material that completely surrounds the casing and extends to the surface or the designated depth. Any breaks or gaps in this column are weak points.
Verification And Inspection Protocols
After the seal is in place, it’s not quite done. You need to check that it’s done right. This involves making sure the seal is continuous, free of voids, and meets all the required dimensions and depths. Sometimes, this might involve pressure testing or visual inspections, depending on the type of well and the sealing method used. Documenting these checks is also a good idea, just in case.
- Confirm the seal extends from the permanent casing to undisturbed soil or a properly recompacted layer.
- Verify that the annular space diameter is at least three inches larger than the outer casing diameter at any given depth.
- Inspect for any signs of settling or voids after the initial placement, and add more material if needed to bring the level up.
So, What’s the Takeaway?
Look, nobody wants to deal with a contaminated water source or a well that just doesn’t work right. Putting in proper well seals might seem like just another step, another cost, but it’s really about protecting your water and your investment. It’s the barrier that keeps the bad stuff out and the good water in. Skipping this part is like building a house and forgetting the roof – it’s just asking for trouble down the road. So, make sure your new well gets the sealing it needs; your future self will definitely thank you.
Frequently Asked Questions
Why are well seals so important for new wells?
Well seals act like a protective barrier for your water source. They’re crucial for stopping nasty stuff like dirt, chemicals, and other surface gunk from getting into your clean groundwater. Think of it as a security guard for your well, making sure only good water gets in.
What happens if a well isn’t sealed properly?
If a well seal isn’t done right, it’s like leaving the door wide open for trouble. Contaminants can easily sneak into your water supply, making it unsafe to drink. This can lead to health problems and costly cleanup jobs down the road. Plus, you could face fines for not following the rules.
What materials are used to make well seals?
Commonly, we use materials like bentonite clay or cement grout to create a solid seal. Bentonite is great because it swells up when wet, forming a tight barrier. Cement grout is also very effective at filling gaps and creating a strong, waterproof seal. The best material depends on the specific ground conditions.
How deep does a well seal need to be?
The depth of the seal can vary, but it generally needs to go down at least 18 feet from the ground surface. However, for certain types of wells, like driven or jetted wells, the required depth might be a bit less. The main goal is to create a barrier that effectively blocks anything from the surface reaching the water below.
Are there different rules for sealing different kinds of wells?
Yes, there are! Different wells, like those for drinking water versus those used for temporary pumping (dewatering wells), have slightly different sealing requirements. For example, temporary dewatering wells might only need a shorter seal, but they must be upgraded or removed within a year. The rules are designed to protect water sources based on how the well is used.
What’s the difference between a pitless adapter and a pitless unit?
A pitless unit is a manufactured piece of well casing with built-in connections for pipes and wires that go underground, keeping everything sealed. A pitless adapter is something added onto an existing well casing. While pitless units are generally approved, some areas have specific rules about them, and well pits themselves are no longer allowed because they can collect dirt and water, risking contamination.