Keeping your well water clean and safe starts with a good seal. It’s like the cap on a bottle – it keeps the good stuff in and the bad stuff out. Sometimes, these seals can get worn or damaged, and you might not even know it. That’s why knowing how to do a quick check yourself is a smart move. It doesn’t take much time, and it can save you a lot of headaches down the road. Let’s go over some Simple Tips for Inspecting Your Well Seals so you can feel more confident about your water source.
Key Takeaways
- A good well seal stops bad things from getting into your water supply.
- Look closely for any cracks, gaps, or worn spots on the seal.
- Use a flashlight and maybe a mirror to see all parts of the seal, even the tricky spots.
- Watch out for seals that look old, were put on wrong, or have signs of animals around them.
- Check your well seals once a year, after big storms, and call a pro if you see anything concerning.
Understanding Well Seal Importance
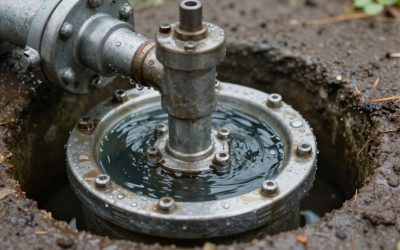
Okay, so you’ve got a well, and that means you’ve got a seal. It might not seem like a big deal, just a little rubbery thing around the wellhead, but trust me, it’s doing some heavy lifting. This seal is your first line of defense against all sorts of nasty stuff getting into your water supply. Think of it like the lid on a jar – if it’s loose or cracked, whatever’s inside is exposed. For your well, that means dirt, bugs, chemicals, and even animal droppings can find their way down into the water you drink and use every day.
Preventing Contamination Entry
This is the big one. The seal keeps the surface world out. Without a good seal, rainwater can wash contaminants right down the well casing. This isn’t just about making your water taste bad; it’s about health. Bacteria and viruses can get in, and that’s a serious problem. It also stops small animals or insects from crawling in and, well, dying in your water source. Gross, right?
Maintaining Water Quality
Beyond just keeping the bad stuff out, a proper seal helps keep the good stuff in – meaning, the water quality you expect. It stops air from getting into the well system, which can cause issues like pump problems or even affect the taste and smell of your water. A good seal helps maintain consistent pressure and prevents the water from getting ‘aerated’ in a way that isn’t good for it.
Ensuring System Integrity
Your well system is a whole setup, and the seal is part of that. It protects the wellhead from physical damage and keeps everything connected properly. If the seal is failing, it can lead to bigger problems down the line, like corrosion of metal parts or damage to the pump. It’s all connected, and that seal plays a part in the overall health and longevity of your well.
The well seal might seem small, but its job is huge. It’s a simple component that has a massive impact on the safety and reliability of your entire water system. Regular checks aren’t just a good idea; they’re pretty important for peace of mind.
Visual Inspection Techniques
Looking at your well seal might seem straightforward, but there are a few things to keep an eye out for. A good visual check can catch problems before they become big headaches. You don’t need fancy equipment, just a bit of patience and a good light source.
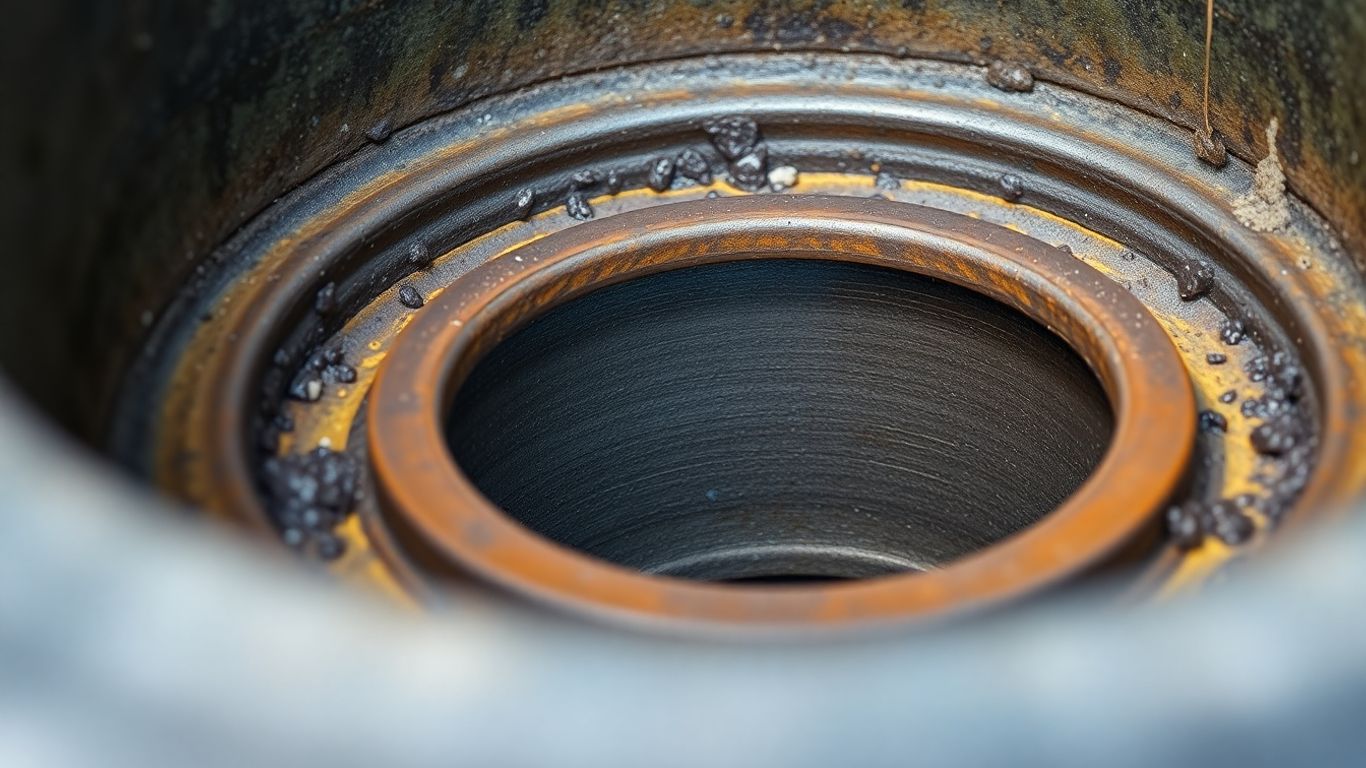
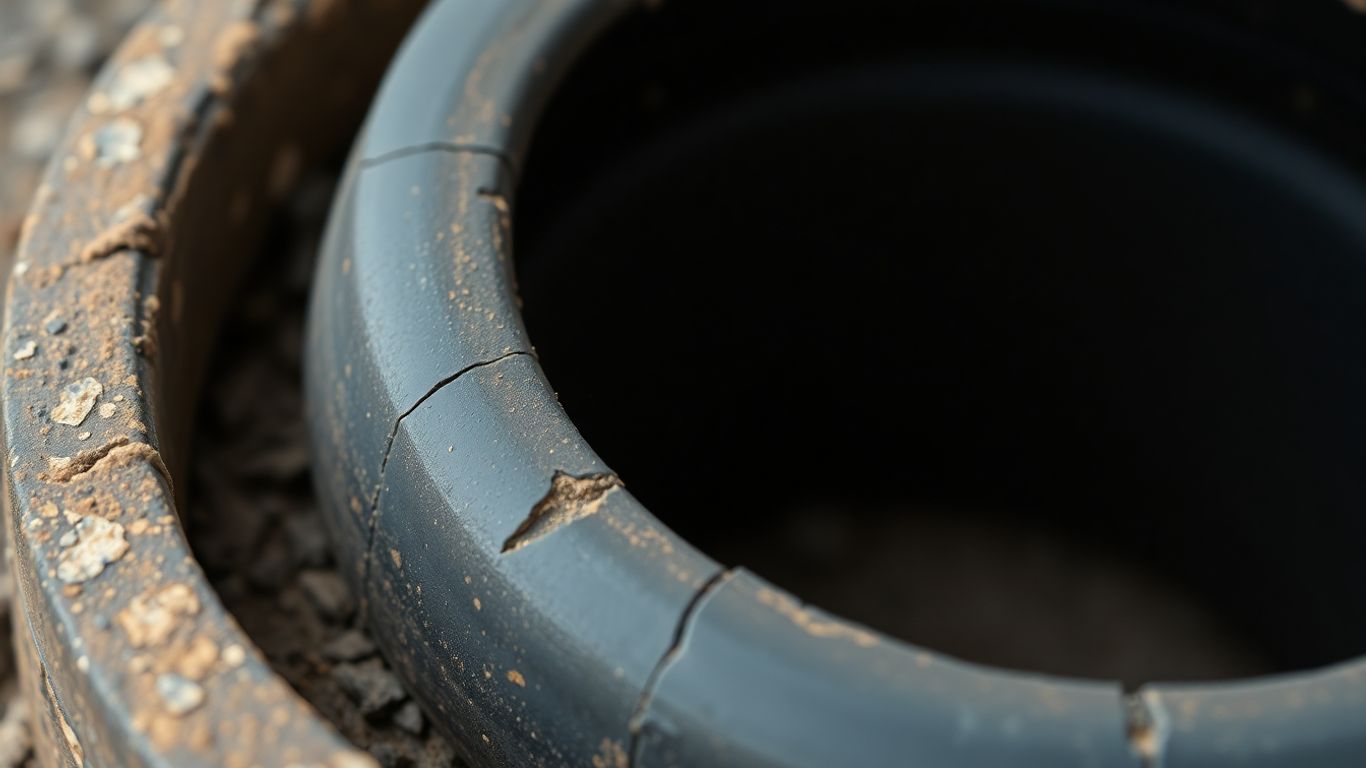
Checking For Cracks And Gaps
Start by circling the wellhead. Look closely at the seal itself, where the casing meets the cap or cover. You’re hunting for any signs of damage. Think hairline cracks, larger splits, or even small openings where dirt or insects could get in. Even a tiny gap can be an entry point for unwanted stuff.
- Run your fingers gently around the seal if it’s safe to do so. You can often feel small cracks that are hard to see.
- Pay attention to the area where the seal meets the well casing and the well cap. These are common spots for issues.
- Don’t forget to look underneath the edge of the well cap if possible. Sometimes, damage is hidden there.
Looking For Signs Of Wear
Materials don’t last forever, and well seals are no exception. Over time, they can get brittle, lose their flexibility, or just start to look worn out. This wear and tear can compromise their ability to keep your water clean.
- Is the seal looking faded or discolored? This can be a sign of UV damage or chemical exposure.
- Does it feel unusually hard or brittle to the touch? It should have some give.
- Are there any areas that look like they’re peeling away or separating?
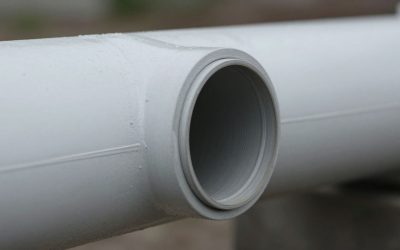
Assessing Sealant Condition
If your well uses sealant (like caulk or grout) around the casing or cap, its condition is important too. This sealant acts as a secondary barrier against contaminants.
- Check if the sealant is still firmly attached. Are there any loose sections or areas where it’s pulling away from the well casing or cap?
- Look for cracks or holes in the sealant itself. This would allow water and debris to seep down.
- Is the sealant dried out and crumbly? This means it’s lost its protective qualities and needs attention.
Sometimes, what looks like a minor issue, like a small crack, can quickly turn into a bigger problem if left unchecked. It’s like a small leak in your roof; you might ignore it at first, but water damage can spread surprisingly fast. Regular visual checks help you stay ahead of these potential issues and keep your well water safe.
Tools For Seal Inspection
Alright, so you’re ready to check out your well seals. You don’t need a whole workshop for this, just a few simple things. Having the right gear makes the job way easier and helps you spot problems you might otherwise miss.
Flashlight For Visibility
This one’s pretty obvious, right? Your wellhead area might be dark, especially if it’s covered or underground. A good, bright flashlight is your best friend here. You need to see clearly to spot any tiny cracks or weird spots. Don’t just grab any old light; a powerful LED one will cut through the gloom and show you what’s really going on. Think about one with a focused beam to really zero in on specific areas.
Mirror For Hard-To-Reach Areas
Sometimes, the seal is tucked away where you just can’t get your eyes on it directly. That’s where a mirror comes in handy. A small, extendable mirror, like the kind mechanics use, can let you see around corners or under pipes. It’s a simple trick, but it makes a big difference for getting a full picture of the seal’s condition. You want to be able to check all sides of the seal, not just the easy ones.
Gloves For Safety
This might seem like a no-brainer, but it’s worth mentioning. You’ll be touching around your wellhead, and who knows what’s been hanging out there. Using gloves keeps your hands clean and, more importantly, protects you from any rough edges, sharp bits, or just general grime. Plus, if you happen to be using any cleaning solutions, gloves are a must. Always prioritize your safety when working around your well system.
Remember, even though you’re just looking, it’s still an industrial area. Be mindful of your surroundings and wear appropriate gear. It’s better to be a little overprepared than to have a nasty surprise.
Common Seal Issues To Watch For
Sometimes, even with regular checks, seals can develop problems. It’s good to know what to look for so you can catch issues early. Catching these problems quickly can save you a lot of trouble down the road.
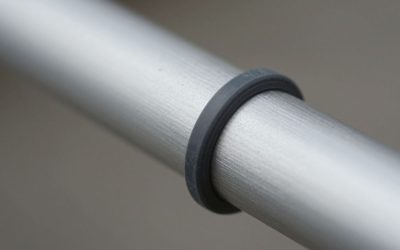
Deterioration Of Materials
Over time, the materials that make up your well seal can break down. Think about rubber or plastic parts exposed to the elements – they don’t last forever. You might see:
- Cracking or splitting, especially on older rubber seals.
- Brittleness, where the material feels stiff and might crumble.
- Discoloration, which can sometimes indicate chemical breakdown or sun damage.
Improper Installation Signs
Even if a seal looks okay at first glance, how it was put in matters. A poorly installed seal might show signs like:
- Uneven pressure points around the casing.
- Gaps that shouldn’t be there, even if they’re small.
- Signs of sealant being squeezed out in odd places.
Sometimes, a seal might look fine visually but isn’t seated correctly. This can happen if the installer wasn’t careful or if the well casing isn’t perfectly straight. It’s the hidden problems that can be the most sneaky.
Evidence Of Pests Or Rodents
Believe it or not, critters can cause seal damage. They might chew on materials or create entry points for themselves. Keep an eye out for:
- Gnaw marks on the seal or surrounding components.
- Nesting materials found near the wellhead.
- Unusual debris that doesn’t seem to belong.
Frequency Of Well Seal Checks
So, how often should you actually be looking at your well seals? It’s not something you want to forget about, but you also don’t need to be up there every other day. Regular checks are key to keeping your water safe and your system running right.
Annual Routine Inspections
Think of this as a yearly check-up for your well. Once a year, set aside some time to give the seal a good once-over. This is your best chance to catch small problems before they turn into big, expensive headaches. Look for anything that seems out of place or different from last time. It’s a good habit to get into, especially if you’re responsible for your home’s water supply.
Post-Storm Assessments
Big storms can really do a number on things around your property, and your wellhead is no exception. After a major weather event – think heavy winds, flooding, or even just a really intense thunderstorm – it’s a smart move to inspect the seal. The ground can shift, debris can get tossed around, and sometimes, things can get knocked loose. A quick look after a storm can give you peace of mind or alert you to a problem that needs fixing.
When To Call A Professional
While you can do a lot of the basic checking yourself, there are times when you just need to bring in the pros. If you see significant damage, like large cracks or if the seal looks like it’s really falling apart, don’t try to patch it up yourself. Also, if you notice any signs of water contamination, like strange smells or tastes, that’s a definite red flag. It’s better to be safe than sorry when it comes to your drinking water.
Don’t underestimate the impact of small issues. A tiny crack might seem insignificant, but it can be an open door for all sorts of unwanted things to get into your water system. Regular, simple checks are your first line of defense.
Simple Tips for Inspecting Your Well Seals
So, you’ve decided to take a look at your well seals yourself. That’s great! It’s not as complicated as it might sound, and a little attention can go a long way. The goal here is to be thorough but also realistic about what you can see and do.
Documenting Your Findings
When you’re checking things out, it’s a good idea to keep notes. You don’t need a fancy system, just a notebook or even your phone’s notes app will do. Jot down what you see, especially anything that looks a bit off. Take pictures if you can; they’re super helpful later on.
- Note the date of your inspection.
- Describe the general condition of the seal.
- List any specific issues you spot, like cracks, loose parts, or strange discoloration.
- Take photos of any problem areas.
Think of this as building a history for your well. Over time, these notes will show you if things are changing or staying the same. It’s like a diary for your well’s health.
Keeping a Maintenance Log
This goes hand-in-hand with documenting. A maintenance log is where you keep all your inspection notes, plus any work you or a professional has done on the well. It doesn’t have to be complicated. A simple binder or a digital file works fine.
- Record all inspections, even if you found nothing wrong.
- Log any repairs or maintenance performed.
- Include dates and who did the work.
- Keep receipts or invoices if you hire someone.
This log is incredibly useful if you ever sell your home or need to explain the well’s history to a service technician. It shows you’re a responsible owner.
Understanding Your Well’s Specifics
Every well is a little different, and knowing yours helps a lot. What kind of seal does it have? Is it an older type or a newer one? What materials were used?
- Look up your well’s original installation records if you have them.
- Talk to neighbors who have similar wells, if possible.
- If you’re unsure, a quick call to a well professional can give you some pointers about your specific setup. They can tell you what to look for and what’s normal for your area. This knowledge is your best tool for spotting trouble early.
Wrapping It Up
So, checking your well seals doesn’t have to be some big, scary job. A little bit of your time and a quick look-see can really make a difference in keeping your water clean and your system running right. It’s not rocket science, just good old common sense maintenance. If you spot anything that looks off, don’t just ignore it. A small issue now could turn into a bigger headache later. Better to be safe than sorry, right? Give it a try, and you’ll feel a lot better knowing you’re taking care of your well.
Frequently Asked Questions
Why are well seals so important for my water?
Think of well seals as the guardians of your water supply. They create a tight barrier around your well casing, preventing yucky stuff like dirt, bugs, and harmful bacteria from getting into your clean drinking water. Without good seals, your water could become unsafe to drink.
How often should I check my well seals?
It’s a good idea to give your well seals a quick look-over at least once a year. If you’ve had a big storm or flood, it’s smart to check them again afterward, just to be sure everything is still sealed up tight.
What are the first signs that a well seal might be failing?
Keep an eye out for anything that looks out of place. Cracks in the sealant, loose parts, or even signs that critters like mice or insects have been hanging around the wellhead can be red flags that the seal isn’t working like it should.
Can I fix a damaged well seal myself?
For simple things like a small crack, you might be able to patch it up temporarily. However, most well seal issues are best left to the pros. A water well professional has the right tools and knowledge to fix it properly and make sure your water stays safe.
What tools do I need to inspect my well seals?
You don’t need much! A bright flashlight is essential to see into dark spots. A mirror can be super helpful for checking areas that are hard to reach. And of course, wearing gloves is always a good idea for safety and cleanliness.
What happens if my well seal isn’t installed correctly?
If a well seal isn’t put in right from the start, it might not create a good barrier. This could mean dirt or surface water can sneak in, making your water quality suffer. It’s also more likely to break down over time, leading to bigger problems down the road.