Keeping your well sealed up tight is pretty important. If water starts getting in where it shouldn’t, it can cause all sorts of problems. But figuring out if there’s a leak doesn’t have to be a huge headache. We’re going to talk about The Easiest Way to Check for Leaks Around Well Seals. It’s simpler than you might think, and you can often spot issues without needing a special toolkit. Let’s get into it.
Key Takeaways
- Well seals stop unwanted water from entering your well system. When they wear out, leaks can happen.
- A good first step is just looking around the wellhead. Keep an eye out for wet spots, strange soil colors, or damage to the casing.
- You can test the seal by checking water pressure. A steady pressure is good; a dropping pressure often means a leak.
- Sometimes, you can actually hear a leak. Listen carefully for any hissing or dripping sounds near the well.
- If you’re not sure or the problem seems big, it’s always best to call in someone who knows wells well.
Understanding Well Seal Functionality
Alright, so you’ve got a well, and it’s got seals. What’s the deal with them? Basically, these seals are the gatekeepers for your well water. They’re there to keep the good stuff in and the bad stuff out. Think of them as the first line of defense against all sorts of unwanted guests.
The Critical Role of Well Seals
These seals, often found around the wellhead where the pipe comes out of the ground, do a couple of really important jobs. First off, they stop surface water, dirt, and anything else yucky from getting into your well. This is super important for keeping your drinking water clean and safe. Without good seals, contaminants can easily seep down into your water supply. They also help maintain the pressure in your well system, which is needed for your water pump to work right. It’s a pretty simple concept, but the impact is huge.
Common Causes of Well Seal Deterioration
Now, nothing lasts forever, and well seals are no exception. Over time, they can start to break down. What causes this? A few things, really.
- Age: Just like anything else, seals get old and brittle. The materials they’re made from can degrade with constant exposure to the elements.
- Environmental Factors: Extreme temperatures, like really hot summers or freezing winters, can put stress on the seals. Heavy rains or flooding can also wash away protective layers or cause soil movement around the wellhead.
- Physical Damage: Sometimes, it’s just plain old wear and tear. Maybe something heavy was dropped near the wellhead, or animals have tried to burrow around it. Even vibrations from nearby machinery can contribute over a long period.
When seals start to fail, it’s not just about a potential leak. It’s about compromising the entire integrity of your well system. This can lead to bigger, more expensive problems down the road if not addressed.
So, knowing what these seals do and why they might fail is the first step in figuring out if yours are doing their job. It sets the stage for why we’d even bother checking for leaks in the first place.
Visual Inspection Techniques
Sometimes, the simplest way to spot a problem is just to look at it. When it comes to your well seal, a good old-fashioned visual check can tell you a lot. You don’t need fancy tools for this, just your eyes and maybe a flashlight.
Looking for Obvious Signs of Moisture
This is the most straightforward part. You’re basically looking for anything that seems out of place, especially wet spots or dampness where it shouldn’t be. Think about the area right around the wellhead. Is the ground consistently soggy? Are there puddles that don’t seem to drain away? Even a small, persistent damp patch can be a red flag.
Here’s what to keep an eye out for:
- Mud or standing water: Especially if it’s right at the base of the well casing or around the seal.
- Water stains: Look for discoloration on the concrete pad or the well casing itself. These can be signs that water has been seeping.
- Unusual plant growth: Sometimes, areas with constant moisture will have different types of plants or thicker grass compared to the surrounding drier ground.
Remember, a little bit of surface moisture after a heavy rain is normal. What you’re looking for is something that doesn’t go away, or seems to be coming from the well itself.
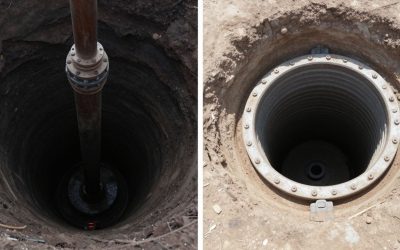
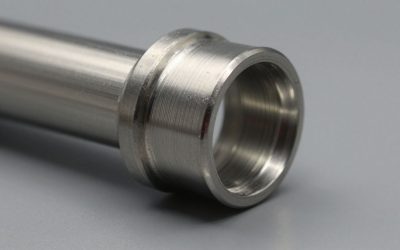
Examining the Wellhead Casing
The wellhead casing is that pipe sticking out of the ground. It’s the first line of defense. You want to make sure it’s in good shape and sealed properly where it meets the ground or the concrete pad.
- Check for cracks: Run your hand (carefully!) along the casing. Feel for any rough spots, cracks, or holes. Even tiny ones can let things in.
- Inspect the cap: Make sure the well cap is secure and hasn’t warped or cracked. It should fit snugly.
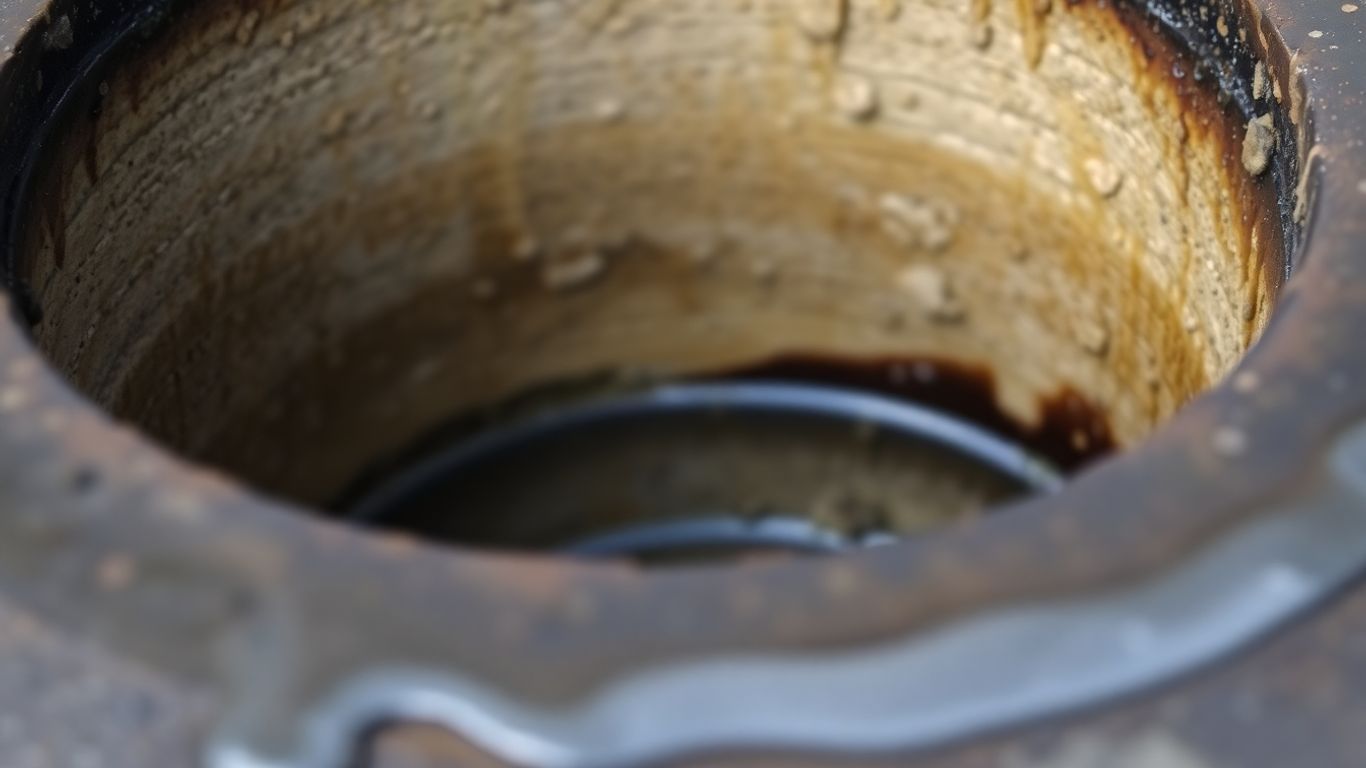
- Look at the seal: Where the casing enters the ground or the concrete apron, there’s usually a seal. Is it cracked, crumbling, or pulling away? This is a prime spot for leaks.
Checking for Soil Discoloration
This ties into looking for moisture, but it’s more about the evidence of past or present water issues. Soil can tell a story if you know what to look for.
- Darker, wet-looking soil: Even if it’s not actively wet when you’re looking, soil that is consistently darker than the surrounding area might indicate a persistent moisture problem.
- Erosion: Has the soil around the well been washed away? This suggests water is flowing there, and it might be carrying contaminants down with it.
- Mineral deposits: Sometimes, if water is seeping out, it can leave behind white or colored mineral stains on the soil or nearby rocks. This is a pretty clear sign of water movement.
Simple Water Pressure Tests
Sometimes, the most obvious signs aren’t visible. That’s where a simple water pressure test comes in handy. It’s a straightforward way to see if your well seal is holding up like it should. This method relies on observing how well your system maintains pressure over a short period.
Performing a Basic Pressure Check
This isn’t rocket science, but it does require a little attention to detail. You’ll need a pressure gauge, which you can usually find at most hardware stores. If you’re not comfortable with this, it’s always okay to call someone who is.
Here’s a general idea of how to do it:
- Locate your pressure gauge: It’s typically found on or near your pressure tank or well pump.
- Note the starting pressure: Turn on a faucet inside your house until the pump kicks on, then turn the faucet off. Record the pressure reading on the gauge.
- Wait and observe: Let the system sit for a set amount of time, say 15-30 minutes. Don’t use any water during this period.
- Check the pressure again: After the waiting period, look at the gauge. Has the pressure dropped significantly?
Interpreting Pressure Drop Indicators
So, what does that pressure reading actually tell you? It’s all about the change you see.
- No significant drop: If the pressure gauge stays pretty much where it was, that’s a good sign. It means your system, including the well seal, is likely holding pressure well and not losing water back into the ground.
- A small, gradual drop: Some minor fluctuation can be normal due to temperature changes or slight system settling. However, if it’s a slow, steady decrease, it might be worth keeping an eye on.
- A rapid or significant drop: This is usually the red flag. If the pressure plummets quickly, it strongly suggests that water is escaping somewhere it shouldn’t be – and a compromised well seal is a prime suspect.
A consistent loss of water pressure, even when the pump isn’t running and no water is being used, points towards a leak. This leak could be anywhere from the pump itself to the piping, but a well seal issue is a common culprit for water escaping back into the well annulus.
Remember, this test is a good initial check, but it’s not the final word. If you’re seeing concerning pressure drops, it’s time to look at other methods or call in the pros.
Auditory Clues to Leaking Seals
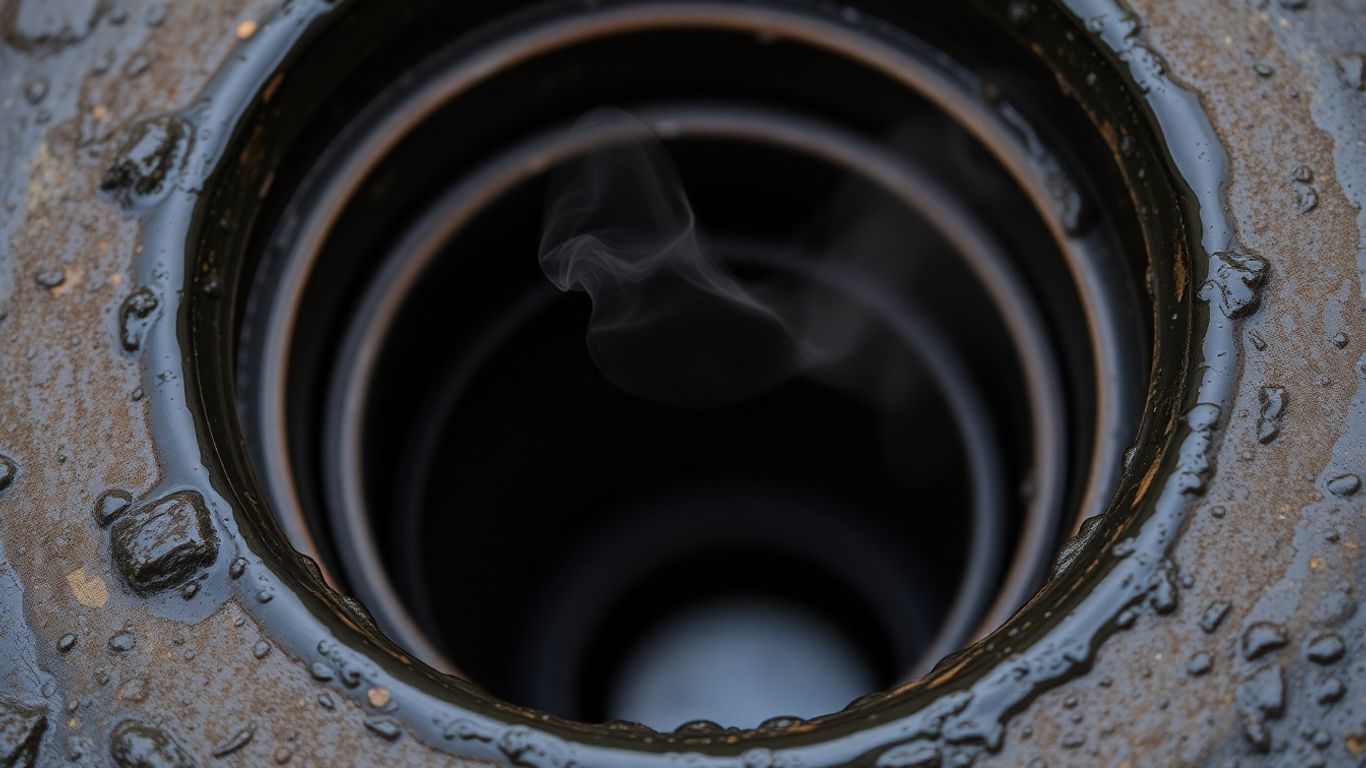
Sometimes, you don’t even need to see a problem to know it’s there. Your well can actually tell you if something’s up, if you just listen closely. Pay attention to the sounds around your wellhead, especially after it rains or when the pump cycles. It’s like the well is trying to whisper its secrets to you.
Listening for Unusual Sounds
What kind of sounds are we talking about? Well, it’s usually not the normal hum of the pump or the gentle gurgle of water. Think about sounds that seem out of place. It might be a faint, persistent noise that wasn’t there before. Sometimes, it’s a sound that seems to come from under the ground near the well.
Identifying Hissing or Dripping Noises
Two of the most common auditory clues are hissing and dripping. A hissing sound can indicate water escaping under pressure, perhaps through a crack or a loose seal. It might be subtle, so you’ll want to get close to the wellhead to really pinpoint it. A dripping noise, while seemingly less urgent, can also signal a leak. It might be water seeping out slowly, which over time can cause damage or allow contaminants in.
Here’s what to listen for:
- A steady, soft hiss coming from the casing or the cap.
- Intermittent dripping sounds, even when the pump isn’t running.
- Any gurgling or bubbling sounds that don’t seem right.
- A change in the normal operating noise of your well pump.
If you hear these sounds, it’s a good idea to investigate further. Don’t just dismiss them as background noise. They could be the first sign of a bigger issue developing. It’s better to check it out early than wait for a more serious problem to arise.
Utilizing Dye for Leak Detection
Sometimes, you just can’t see where the water is coming from, even if you suspect a leak. That’s where a little bit of dye comes in handy. It’s a pretty straightforward method that can pinpoint those sneaky little breaches in your well seal.
Choosing the Right Type of Dye
Not just any old food coloring will do. You want something specifically made for this purpose. These dyes are usually non-toxic and designed to be easily visible in water. Look for:
- Fluorescent dyes: These glow under a blacklight, making even tiny leaks obvious.
- Vegetable-based dyes: These are environmentally friendly and break down over time.
- Water-soluble dyes: They mix well with water and spread easily.
The key is to use a dye that won’t harm your water supply or the environment.
Applying Dye Around the Well Seal
This part is pretty simple. You’ll need a small amount of water to mix with the dye, following the product’s instructions. Then, carefully pour this colored water around the base of the wellhead, where the casing meets the ground. You want the dye to have a chance to seep into any cracks or openings.
- Start by pouring a small amount directly onto the seal area.
- If you have a larger area to cover, you might need to create a small dam to hold the water in place for a bit.
- Wait for a short period, maybe 15-30 minutes, to let the dye work its way into potential leak spots.
Observing Dye Movement Patterns
Now comes the waiting game. You’re looking for any sign of the colored water moving where it shouldn’t be. Keep an eye on:
- The ground surrounding the wellhead.
- Any visible cracks or seams in the well casing or cap.
- The area where the casing enters the ground.
If you see streaks of color appearing away from where you poured it, or if the water seems to be disappearing into the ground in a specific spot, that’s a strong indicator of a leak. It’s a simple, yet effective way to get a visual confirmation of a problem.
Sometimes, the smallest signs are the most telling. A faint discoloration in the soil or a subtle change in moisture can point to a bigger issue. Don’t overlook these subtle clues when you’re checking your well.
This method is particularly useful for identifying surface-level leaks that might not be causing immediate pressure drops but could lead to contamination over time.
When to Seek Professional Assistance
Recognizing Persistent Leak Issues
Sometimes, even after you’ve done all the checks, that nagging feeling that something’s not right with your well seal just won’t go away. You’ve looked, you’ve listened, maybe even tried a little dye, but the problem seems to stick around. If you’re seeing consistent signs of moisture, unexplained pressure drops, or just have a gut feeling that the integrity of your wellhead is compromised, it’s probably time to call in the pros. They’ve got the tools and the know-how to pinpoint issues you might miss. Don’t let a small leak turn into a big headache down the road.
Understanding Professional Diagnostic Tools
When you bring in a professional, they have a few tricks up their sleeve that go beyond what most homeowners can do. They’re not just looking for the obvious; they’re looking for the subtle signs that indicate a deeper problem. Here’s a peek at what they might use:
- Pressure Testing Equipment: While you can do a basic check, professionals have more sensitive gauges and longer-term monitoring tools to accurately measure pressure changes and identify slow leaks.
- Acoustic Leak Detectors: These devices are far more sophisticated than just putting your ear to the ground. They can pick up the faint sounds of escaping water or gas, even when it’s buried deep.
- Video Inspection Cameras: For issues within the well casing itself, a small camera can be lowered down to visually inspect the integrity of the casing and the seal area for cracks or damage.
- Ground Penetrating Radar (GPR): In some cases, GPR can be used to map out underground structures and identify anomalies that might indicate a leak path or compromised seal.
It’s easy to get caught up in DIY fixes, and for many things, that’s perfectly fine. But when it comes to your well, which is a direct line to your water supply, playing it safe is always the best bet. Professionals have seen it all and can diagnose problems quickly and accurately, saving you time, money, and potential water contamination.
Don’t hesitate to reach out if you’re unsure. A quick call to a qualified well technician can give you peace of mind and ensure your water system is working as it should.
Wrapping It Up
So, checking your well seals for leaks doesn’t have to be a big, scary job. With a few simple steps, you can get a good idea if something’s not right. It’s really about being observant and knowing what to look for. If you spot any signs of trouble, don’t wait around. Getting it fixed early can save you a lot of headaches and money down the road. It’s just good sense to keep an eye on things, and this method makes it pretty straightforward. You got this.
Frequently Asked Questions
What exactly does a well seal do?
Think of a well seal like a waterproof collar around your well. Its main job is to keep yucky stuff like dirt, bugs, and rainwater from getting into your well water. It’s super important for keeping your drinking water clean and safe.
How can I tell if my well seal is leaking?
The easiest way is to look for wet spots or puddles around the top of your well. You might also see weird stains on the ground or notice the casing (the pipe part) looks damp or rusty. Sometimes, you can even hear a faint dripping or hissing sound if there’s a leak.
Is it safe to check for leaks myself?
For the most part, yes! Simple checks like looking around the wellhead and listening for sounds are safe. However, if you suspect a bigger problem or aren’t comfortable, it’s always best to call in a pro.
What’s this ‘dye test’ I’ve heard about?
It’s a clever trick where you put a special, safe dye around the well seal. If the seal is leaky, the dye will get pulled into the well, and you’ll see colored water when you run your faucet. It’s a pretty clear sign something’s not right.
What if I see a leak, but it doesn’t seem too bad?
Even small leaks can let in contaminants over time, which can make your water unsafe. It’s better to fix any leak, no matter how tiny, sooner rather than later. Ignoring it could lead to bigger problems down the road.
When should I definitely call a professional?
If you’ve tried a few checks and still can’t figure out the problem, or if you see signs of a significant leak like a large wet area or a constant drip, it’s time to call an expert. They have special tools to find and fix leaks that you might not have.