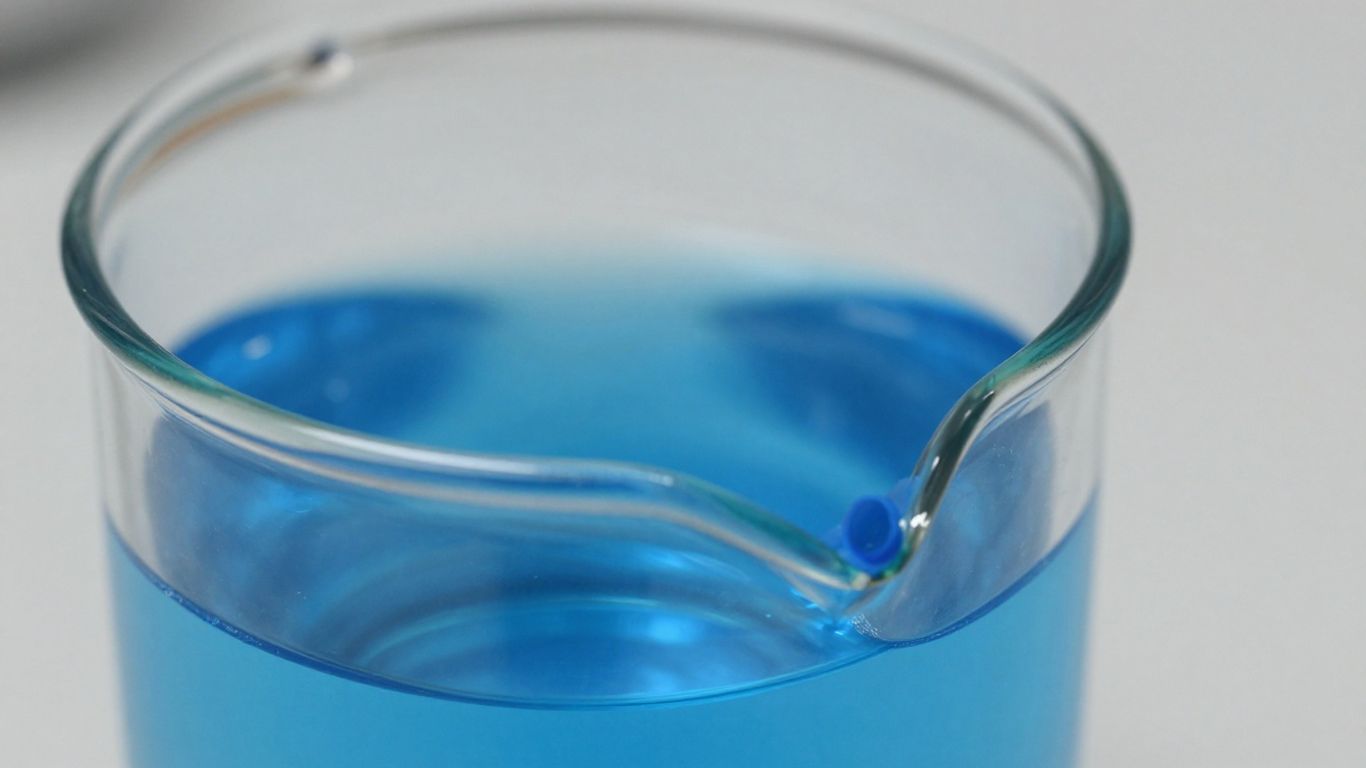
So, you’re trying to get accurate water testing results, but things aren’t adding up? It might be simpler than you think. The seals in your system, often overlooked, play a surprisingly big part in how well your tests actually work. We’re talking about the little guys that keep everything contained and prevent unwanted stuff from getting in or out. Let’s break down how these seals, from the materials they’re made of to how they’re put in, can make or break your water testing accuracy. It’s not just about stopping leaks; it’s about making sure your measurements are spot on.
Key Takeaways
-
Picking the right seal material is key for water testing accuracy, focusing on how well it resists corrosion and holds up mechanically. Different alloys and diaphragm materials offer varying levels of protection against different substances.
-
How you put the seal in matters a lot for accurate readings. Making sure everything is clean, tightened correctly, and that the instrument is isolated during maintenance helps prevent errors.
-
Keeping your system clean and your seals in good shape stops contamination. This means isolating instruments from the actual water being tested and watching out for things like trapped gas or damage that can mess with readings.
-
Rubber seals can absorb water and swell, which changes their size and can affect their sealing ability. Choosing the right rubber and considering how it might swell is important for consistent performance.
-
The fluid inside the seal and the temperature it’s exposed to can change your readings. Using the right fill fluid and managing temperature effects, like using shorter capillaries or cooling elements, helps keep measurements stable.
Understanding Seal Material Selection for Water Testing
Picking the right stuff for seals is a big deal when you’re trying to get accurate water test results. It’s not just about slapping something in there; you’ve got to think about what the seal will be up against. The material needs to hold up against whatever water or chemicals you’re testing, and it also needs to be strong enough not to break down.
Corrosion Resistance and Mechanical Strength
Think about it: if your seal starts to corrode or crumble, your whole test is shot. You need materials that can handle the environment. For a lot of standard water testing, like with clean tap water or even some mild chemicals, 316 stainless steel is a pretty common choice. It’s got decent resistance to corrosion and is strong enough for most jobs. But if you’re dealing with harsher stuff, like water with high salt content or certain industrial fluids, you might need to step up your game.
Alloy Options for Enhanced Protection
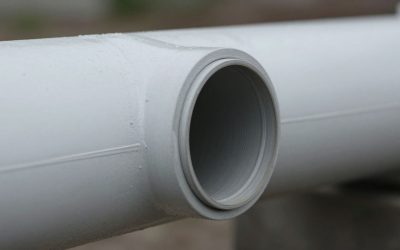
When 316 stainless steel isn’t cutting it, there are other alloys to consider. For situations where you’re worried about pitting or stress cracking, especially in environments with chlorides, you might look at higher-grade stainless steels like 316L. If things get even more aggressive, like with strong acids or solvents, you could be looking at nickel-based alloys or even specialized coatings like PTFE or PFA lining. These options provide a much tougher barrier against chemical attack. The diaphragm itself can be made of metal for durability or, in some low-pressure cases, a flexible rubber-like material.
Diaphragm Material Properties
The diaphragm is often the part that directly interacts with the fluid. For durability and chemical resistance, metals like 316L or Hastelloy are common. The surface finish on these metallic diaphragms is important too; it needs to be smooth enough to be sensitive to pressure changes but also robust enough to last. Sometimes, for very specific low-pressure applications, an elastomeric diaphragm might be used, but you have to be really careful about its compatibility with the fluid being tested and its tendency to absorb water, which we’ll get into more later.
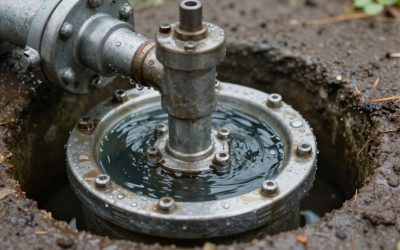
The Critical Role of Seal Installation in Accuracy
Alright, so you’ve picked out the right seal for your water testing setup. That’s a big step! But honestly, even the best seal can mess things up if it’s not put in correctly. Think of it like building furniture – the parts might be top-notch, but if you don’t follow the instructions, you end up with a wobbly table, right? The same idea applies here.
Pre-Installation Verification and Preparation
Before you even think about bolting things up, take a minute to check everything. You want to make sure the flange on your pipe matches the flange on the seal – we’re talking about the bolt pattern, the size, and how the faces line up. Also, give the mating flange a good look. Is it flat? Is it clean? Any gunk or damage there can cause leaks or uneven pressure. It’s a small step, but it really matters for getting a good seal.
Proper Gasket and Bolt Tightening Procedures
Choosing the right gasket is super important. It needs to be compatible with your process media and the flange type. When you start tightening the bolts, don’t just go willy-nilly. You need to tighten them in a cross pattern, like you’re lacing up a shoe. This helps spread the pressure evenly. And torque? That’s key. You’ve got to tighten them to the manufacturer’s recommended level. Too loose, and you’ll get leaks. Too tight, and you could damage the flange or even the seal itself. Getting this torque right is probably the most common place people slip up.
Instrument Isolation for Maintenance
Sometimes, you’ll need to do some work on your instrument. If you can, put a valve between your process line and the seal. This way, you can shut off the flow and take the instrument out for maintenance without having to drain the whole line or break the seal connection. It saves a lot of hassle and keeps your system running smoothly. For those tricky differential pressure setups, make sure the small tubes (capillaries) running to both seals are routed together and secured the same way. This way, they both experience the same temperature changes, which keeps your readings accurate.
Preventing Contamination and Ensuring Seal Integrity
Okay, so we’ve talked about picking the right materials and getting them installed correctly. Now, let’s get into how we keep things clean and make sure those seals are actually doing their job without messing up your water test readings. It’s all about keeping the gunk out and the signal pure.
Isolating Instruments from Process Media
This is a big one. The whole point of using a diaphragm seal in the first place is to keep your sensitive instrument away from whatever’s flowing through the pipe. Think about it: if you’re testing water that’s got, I don’t know, bits of rust, or maybe it’s a bit sticky, you don’t want that getting into your pressure gauge or transmitter. It can clog things up, corrode parts, or just give you a false reading. So, the seal acts like a barrier. The diaphragm is the key player here, flexing to transmit the pressure without letting the actual process fluid touch the instrument’s internals.
-
Slurries and thick liquids: These can easily plug up small instrument ports. A seal keeps them out.
-
Corrosive chemicals: You don’t want your instrument getting eaten away by harsh chemicals.
-
Crystallizing fluids: If something in the water starts to solidify, it can jam up the works. The seal prevents this.
-
Hygienic or environmental concerns: Sometimes, you just can’t have the process media mixing with anything else.
Managing Thermal Effects on Readings
Temperature changes can really throw a wrench in your readings, especially with diaphragm seals. See, the seal is filled with a special fluid (we’ll get to that more later). When the temperature goes up or down, this fluid expands or contracts. If both sides of your instrument (if it’s a differential pressure type) aren’t experiencing the exact same temperature changes, you’ll get a reading that looks like a pressure change, but it’s just the temperature messing with the fill fluid. To combat this, we often:
-
Route capillaries together: If you have two seals connected to a differential pressure instrument, make sure their connecting tubes (capillaries) run side-by-side and are secured to the same supports. This way, they’re exposed to the same ambient temperature.
-
Use matched pairs: For differential pressure setups, we can supply seals that are specifically matched to minimize temperature-induced errors.
-
Consider remote mounting: Sometimes, it’s best to mount the instrument itself away from the hot process line, using a longer capillary to connect it to the seal.
Temperature is sneaky. It can make your fill fluid expand or contract, which your instrument will interpret as a pressure change. Keeping both sides of a differential instrument at the same temperature is super important for accurate readings. It’s like making sure both thermometers in a comparison test are in the exact same spot.
Handling Trapped Gas and Diaphragm Damage
Trapped gas is another accuracy killer. If there’s air or some other gas bubble stuck in the fill fluid system, it’s compressible. Unlike the liquid fill, which is pretty much incompressible, gas will squish. This means your pressure transmission won’t be accurate. We usually evacuate the seal cavity and fill it carefully to get rid of any air. If you suspect you have trapped gas, or if you think the diaphragm might be damaged (maybe from over-pressurization or a physical impact), don’t try to fix it yourself. It’s usually best to send the whole assembly back to the manufacturer for inspection and repair. Trying to open up a sealed unit can often make things worse and void any warranties.
-
Vent or purge carefully: If you need to vent or purge the instrument side, only do it at the designated instrument ports, and follow the instructions precisely.
-
Never open the seal body: Seriously, don’t try to take the seal apart yourself. It’s designed to be a closed system.
-
Inspect for damage: If you see any signs of the diaphragm being punctured, torn, or otherwise compromised, stop using it immediately.
-
Return for evaluation: If you suspect trapped gas or diaphragm damage, send it back to the experts. They have the right tools and procedures to check it out properly.
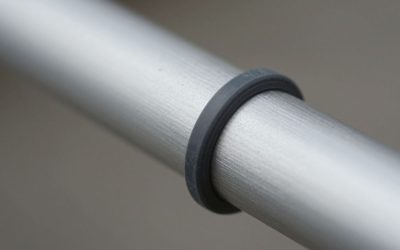
Addressing Water Absorption in Rubber Seals
Rubber seals are everywhere, doing important jobs like keeping liquids and gases where they belong. But sometimes, especially in water testing, these seals can soak up water and swell. This isn’t just a minor inconvenience; it can mess with the seal’s size and shape, leading to leaks and inaccurate readings. It’s a bit like leaving a sponge out too long – it gets bigger and softer.
Factors Influencing Water Swelling
So, what makes a rubber seal decide to go on a water diet? A few things play a role. The type of rubber itself is a big one. Some rubbers, especially those with polar groups in their makeup, are like little sponges for water molecules. They form bonds with water, causing them to expand. Others, more non-polar, tend to stay drier. Then there’s how tightly the rubber molecules are linked together – think of it like a net. A tightly woven net (high crosslinking density) keeps water out better than a loose one.
-
Material Chemistry: Polar vs. non-polar rubber composition.
-
Crosslinking Density: How tightly the rubber molecules are bound.
-
Environmental Conditions: Temperature, humidity, and how long the seal is exposed to water.
-
Contact Medium: What the seal is touching can also influence water uptake.
Impact of Swelling on Sealing Performance
When a rubber seal swells up, it’s not just getting bigger. Its physical properties can change too. This swelling can directly reduce its ability to create a tight seal, leading to leaks. Imagine trying to fit a slightly-too-big gasket into a tight spot – it just won’t seat properly. Beyond just size, the rubber itself can become softer and lose some of its springiness. This means it might not bounce back as it should, especially in moving parts, and could even break or distort under normal pressure.
Here’s a quick look at what happens:
-
Reduced Sealing Force: The seal might not press against the mating surface with enough force.
-
Leakage: The primary consequence, compromising test accuracy.
-
Loss of Elasticity: The seal can’t recover its shape after being compressed.
-
Mechanical Property Degradation: Hardness and strength can decrease.
Sometimes, the environment where a seal is used can change over time. A seal designed for a dry place might end up in a humid or wet area, revealing water absorption issues that weren’t obvious before. It’s a good reminder that real-world conditions can be trickier than lab specs.
Mitigation Strategies Through Design and Materials
Okay, so water absorption is a problem, but we’re not helpless. We can tackle this from a couple of angles. Choosing the right rubber material from the start is key. For wet environments, materials like silicone or certain fluororubbers are often better choices because they naturally absorb less water. Sometimes, special treatments or modifications to the rubber can also help repel water. On the design side, engineers can build in a little extra room for expansion or adjust how much the seal is squeezed (preload) to account for potential swelling. It’s about being smart with material selection and how the seal is integrated into the equipment.
-
Material Selection: Opt for low-water-absorption rubbers (e.g., silicone, fluororubber).
-
Design Adjustments: Incorporate expansion space or modify preload.
-
Manufacturing Control: Ensure proper vulcanization for optimal crosslinking.
-
Surface Treatments: Apply coatings to reduce water ingress.
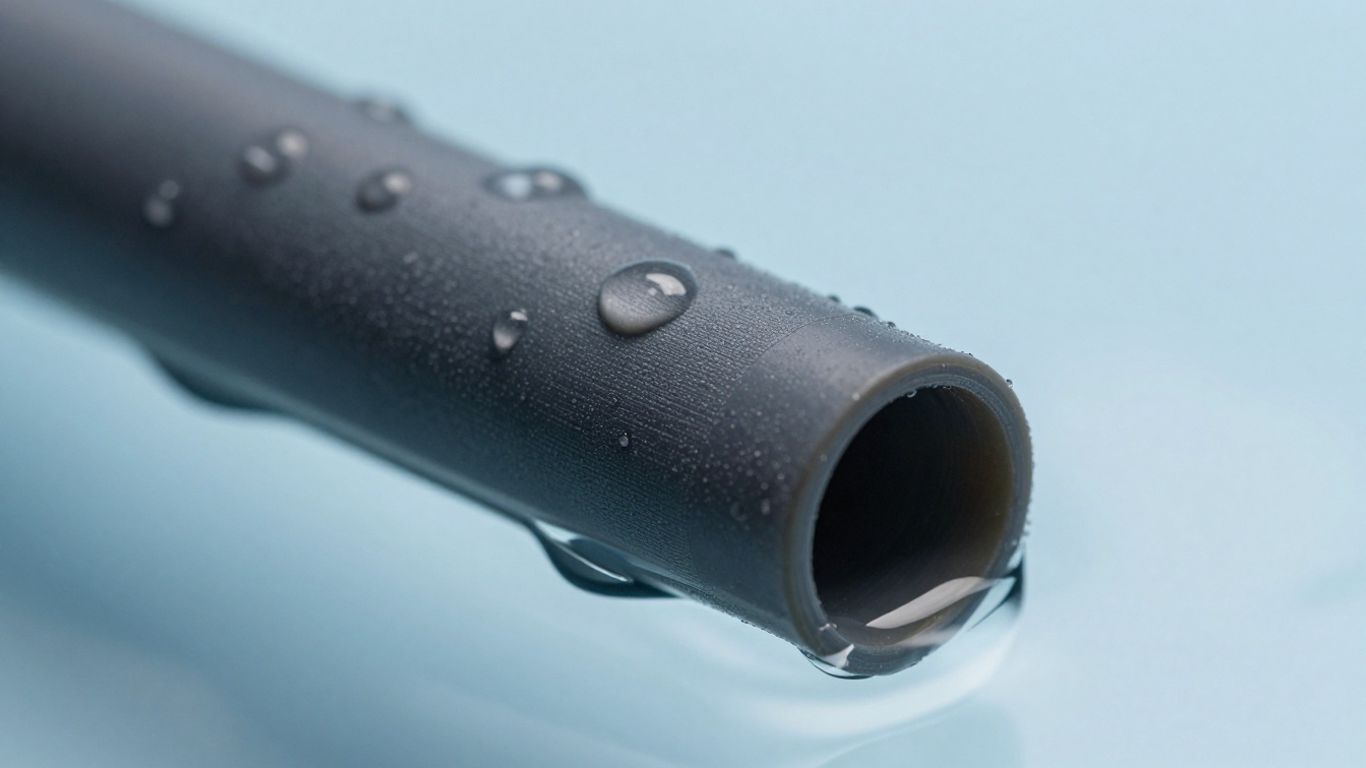
Fill Fluid Properties and Their Impact on Readings
So, you’ve got your diaphragm seal all set up, but what about what’s inside? That liquid, the fill fluid, plays a pretty big role in how accurate your readings are going to be. It’s not just some random oil; it’s carefully chosen to do a specific job. Think of it as the messenger carrying the pressure from the diaphragm to the instrument.
Selection Criteria for Fill Fluids
When picking a fill fluid, a few things are super important. You’ve got viscosity – basically, how thick or thin it is. Lower viscosity usually means a faster response time, which is good, but too low and you might have other issues like permeation. Then there’s thermal expansion; how much it changes volume with temperature. You also need to consider its vapor pressure, especially if you’re dealing with high temperatures. And of course, it has to play nice with whatever process media you’re measuring – chemical compatibility is key. Finally, the temperature range it can handle without breaking down or freezing solid is a big deal.
-
Viscosity: Affects response time and temperature error.
-
Thermal Expansion: Influences reading shifts with temperature changes.
-
Vapor Pressure: Important for high-temperature applications.
-
Chemical Compatibility: Must not react with process media or seal materials.
-
Temperature Range: Needs to stay functional across expected operating conditions.
Temperature Gradients and Fill Fluid Behavior
Temperature is a real wild card here. When the temperature changes, the fill fluid expands or contracts. This change in volume can actually shift your instrument’s zero reading, which is definitely not what you want. If you’ve got a differential pressure setup, and one side gets hotter than the other, you’ll get different errors on each side. To combat this, engineers sometimes shorten the capillaries connecting the seal to the instrument, or they might try to match the lengths of capillaries on paired instruments so they both experience similar temperature effects. Sometimes, adding a thermal snubber or a cooling element can help keep things stable. For really hot processes, mounting the instrument remotely with a cooling assembly between the seal and the gauge is a common fix. For cold services, you need to pick a fluid with a low pour point to stop it from getting too thick or solidifying.
Temperature fluctuations can mess with your readings by changing the fill fluid’s volume. Managing these changes often involves careful capillary design, using thermal management devices, or selecting fluids with low expansion rates.
Minimizing Static Pressure Effects
Static pressure is another factor, especially in differential pressure measurements. If both the high and low sides of your instrument are exposed to the same high static pressure, it can introduce errors if the seals aren’t perfectly matched. The trick here is to use a matched pair of seals, meaning they’re built to be as identical as possible, with capillaries that are also matched in length and routing. This way, any common mode error caused by the static pressure tends to cancel itself out. Manufacturers often factory-charge and balance these matched pairs so that the zero point stays centered even when the system is under pressure and at operating temperature. It’s all about making sure that the pressure from the process is transmitted accurately, without unwanted influences from the fill fluid or the environment.
Documentation and Compliance for Water Testing
Keeping good records is super important when you’re doing water testing, especially if you’re in a field where rules matter. It’s not just about having the right seals; it’s about proving you’re using them correctly and that they’re up to snuff. Think of it like keeping receipts for everything – you need them to show where your money went, and with testing equipment, you need documentation to show how you got your results.
Mill Test Reports and Certifications
When you get your seals, especially the parts that touch the water or process fluid, they usually come with some paperwork. This might include Mill Test Reports (MTRs) for the metal parts, which basically say what the metal is made of and that it meets certain standards. You might also get certifications for the fill fluid, confirming its purity and suitability for your specific application. These documents are your first line of defense in proving material quality and traceability. It’s good practice to keep these on file, especially for critical applications.
Retaining Safety Data Sheets and Material Lists
Beyond the MTRs, you’ll want to hang onto the Safety Data Sheets (SDS) for any fill fluids used. These sheets tell you about the fluid’s properties, any hazards, and how to handle it safely. Also, keep a list of all the materials that make up your seal assembly – the diaphragm, the body, the fill fluid, and so on. This is really helpful if you ever need to troubleshoot or if an inspector comes asking questions. It paints a clear picture of what’s actually in contact with your system.
Consulting for Configuration Changes
Things change, right? Maybe you need to adjust the pressure range of your instrument, or the process conditions get a bit more intense. Before you go making any changes to your setup, like swapping out a seal or changing the fill fluid, it’s a smart move to talk to the people who made the equipment. They can tell you if your current seal, fill fluid, and capillary setup will still work correctly or if you need to make adjustments. Trying to guess can lead to inaccurate readings or even damage to your equipment. It’s better to ask and be sure.
Proper documentation isn’t just busywork; it’s a key part of ensuring the reliability and accuracy of your water testing over the long haul. It helps you maintain your equipment, troubleshoot issues, and meet any regulatory requirements you might have. Keeping these records organized makes life a lot easier when you need them.
Wrapping It Up
So, when it comes down to it, those seals might seem small, but they really do make a big difference in getting accurate water testing results. Picking the right material and making sure it’s installed correctly stops all sorts of problems before they even start. It’s not just about keeping water out; it’s about making sure your instruments are reading things right, day in and day out. Getting this part right means less guesswork, fewer headaches, and more reliable data. It’s a simple step that pays off big time for accuracy.
Frequently Asked Questions
Why is choosing the right material for seals so important for water testing?
Picking the correct material for seals is like choosing the right tool for a job. For water testing, seals need to withstand different conditions without breaking down or changing the water’s properties. Some materials can resist rust or chemical damage, while others are strong enough to handle pressure. Using the wrong material could lead to leaks, inaccurate readings, or even damage to the testing equipment.
How does installing seals correctly affect water testing results?
Putting seals in place properly is crucial for getting accurate water tests. If a seal isn’t installed right, it might not create a tight barrier, allowing water to leak out or unwanted substances to get in. This can mess up the test results. Making sure bolts are tightened correctly and the seal is aligned perfectly helps guarantee that the testing equipment stays protected and gives reliable information.
What can cause rubber seals to swell in water, and why is this bad for testing?
Rubber seals can swell when they soak up water. This happens more easily with certain types of rubber, especially if they have a porous structure. When a seal swells, it can change shape and size, which might not create a good seal anymore. This can lead to leaks or affect the pressure readings, making the water test results unreliable. It’s like a sponge getting bigger when wet – it doesn’t fit in the same spot anymore.
How do the fluids used inside seals affect the accuracy of water tests?
Many seals have a special liquid inside them to help transfer pressure smoothly to the testing device. The type of liquid used matters a lot. If the liquid expands or shrinks too much with temperature changes, it can push or pull on the testing device, giving a false reading. Choosing a liquid that stays stable and doesn’t react with the water or the seal is key for accurate measurements.
What is ‘permeability’ in the context of seals, and why does it matter for water testing?
Permeability refers to how easily tiny things, like gas molecules, can pass through a material. Even good seals aren’t perfectly solid; they have microscopic pathways. For water testing, if a seal is too permeable, unwanted gases or substances might slowly leak in or out, which could change the water sample’s composition and affect the test results. Measuring and controlling this leakage rate is important for maintaining accuracy.
Why is it important to keep records and certifications related to seals used in water testing?
Keeping good records, like material certifications and test reports, is like keeping a diary for your equipment. These documents prove that the seals meet the required standards for safety and performance. If there’s ever a question about the accuracy of a water test or if a seal fails, these records can show what materials were used and how they were tested. This is especially important in regulated industries where proof of quality is needed.